Documentation Index
Fetch the complete documentation index at: https://docs.browseract.com/llms.txt
Use this file to discover all available pages before exploring further.
📚 This is a How-To Guide – You already have a working BrowserAct workflow, and you want to trigger it from n8n. This guide shows you how.
⏱️ Estimated time: 15-20 minutes
🎯When Should You Use This?
Use this guide if you want to:
- Trigger a BrowserAct workflow from a schedule – Run every day at 8am, every hour, etc.
- Trigger from external events – Webhook, database update, webhook, etc.
- Use data from other platforms – Google Sheets, Airtable, email, Slack, etc.
- Send results to downstream tools – Email, Slack, database, CRM, etc.
- Build end-to-end automations – Data source → BrowserAct → Results → Action
❌ You DON’T Need This If…
You just want to run a workflow manually in BrowserAct. That’s already easy – just click “Run”!
✅ Prerequisites
✓BrowserAct Account + Working Workflow
✓Go to BrowserAct → Workflows → pick one that’s Published and tested
Your API Key Ready
✓In BrowserAct: Settings → Integrations & API → “Generate API Key” → Copy it
n8n Account
✓Either n8n Cloud (easiest) or self-hosted n8n instance (v1.0+)
Basic n8n Knowledge
Know how to add nodes and create basic workflows in n8n
🔄How It Works (Visual Overview)
Your Data Source (Sheets, Webhook, Schedule, Database) ↓ n8n (Decides WHEN to run & WHERE data comes from) ↓ BrowserAct (Runs your web automation workflow) ↓ Results (Structured data back to n8n) ↓ Your Destination (Email, Slack, Database, Sheet, etc.)
🚀Integration Steps
Step 1: Add BrowserAct Node to n8n
- Open your n8n workflow (or create a new one)
- Click the
+ button to add a node
- Search for “BrowserAct”
- Click to add the BrowserAct node to your workflow
Step 2: Connect Your API Key
- In the BrowserAct node, find the Credentials section
- Click “Create New Credential”
- Paste your BrowserAct API key
- Click Save and select it from the dropdown
💡 Test the connection: Click the “Test” button next to your credential. You should see “Connection successful”
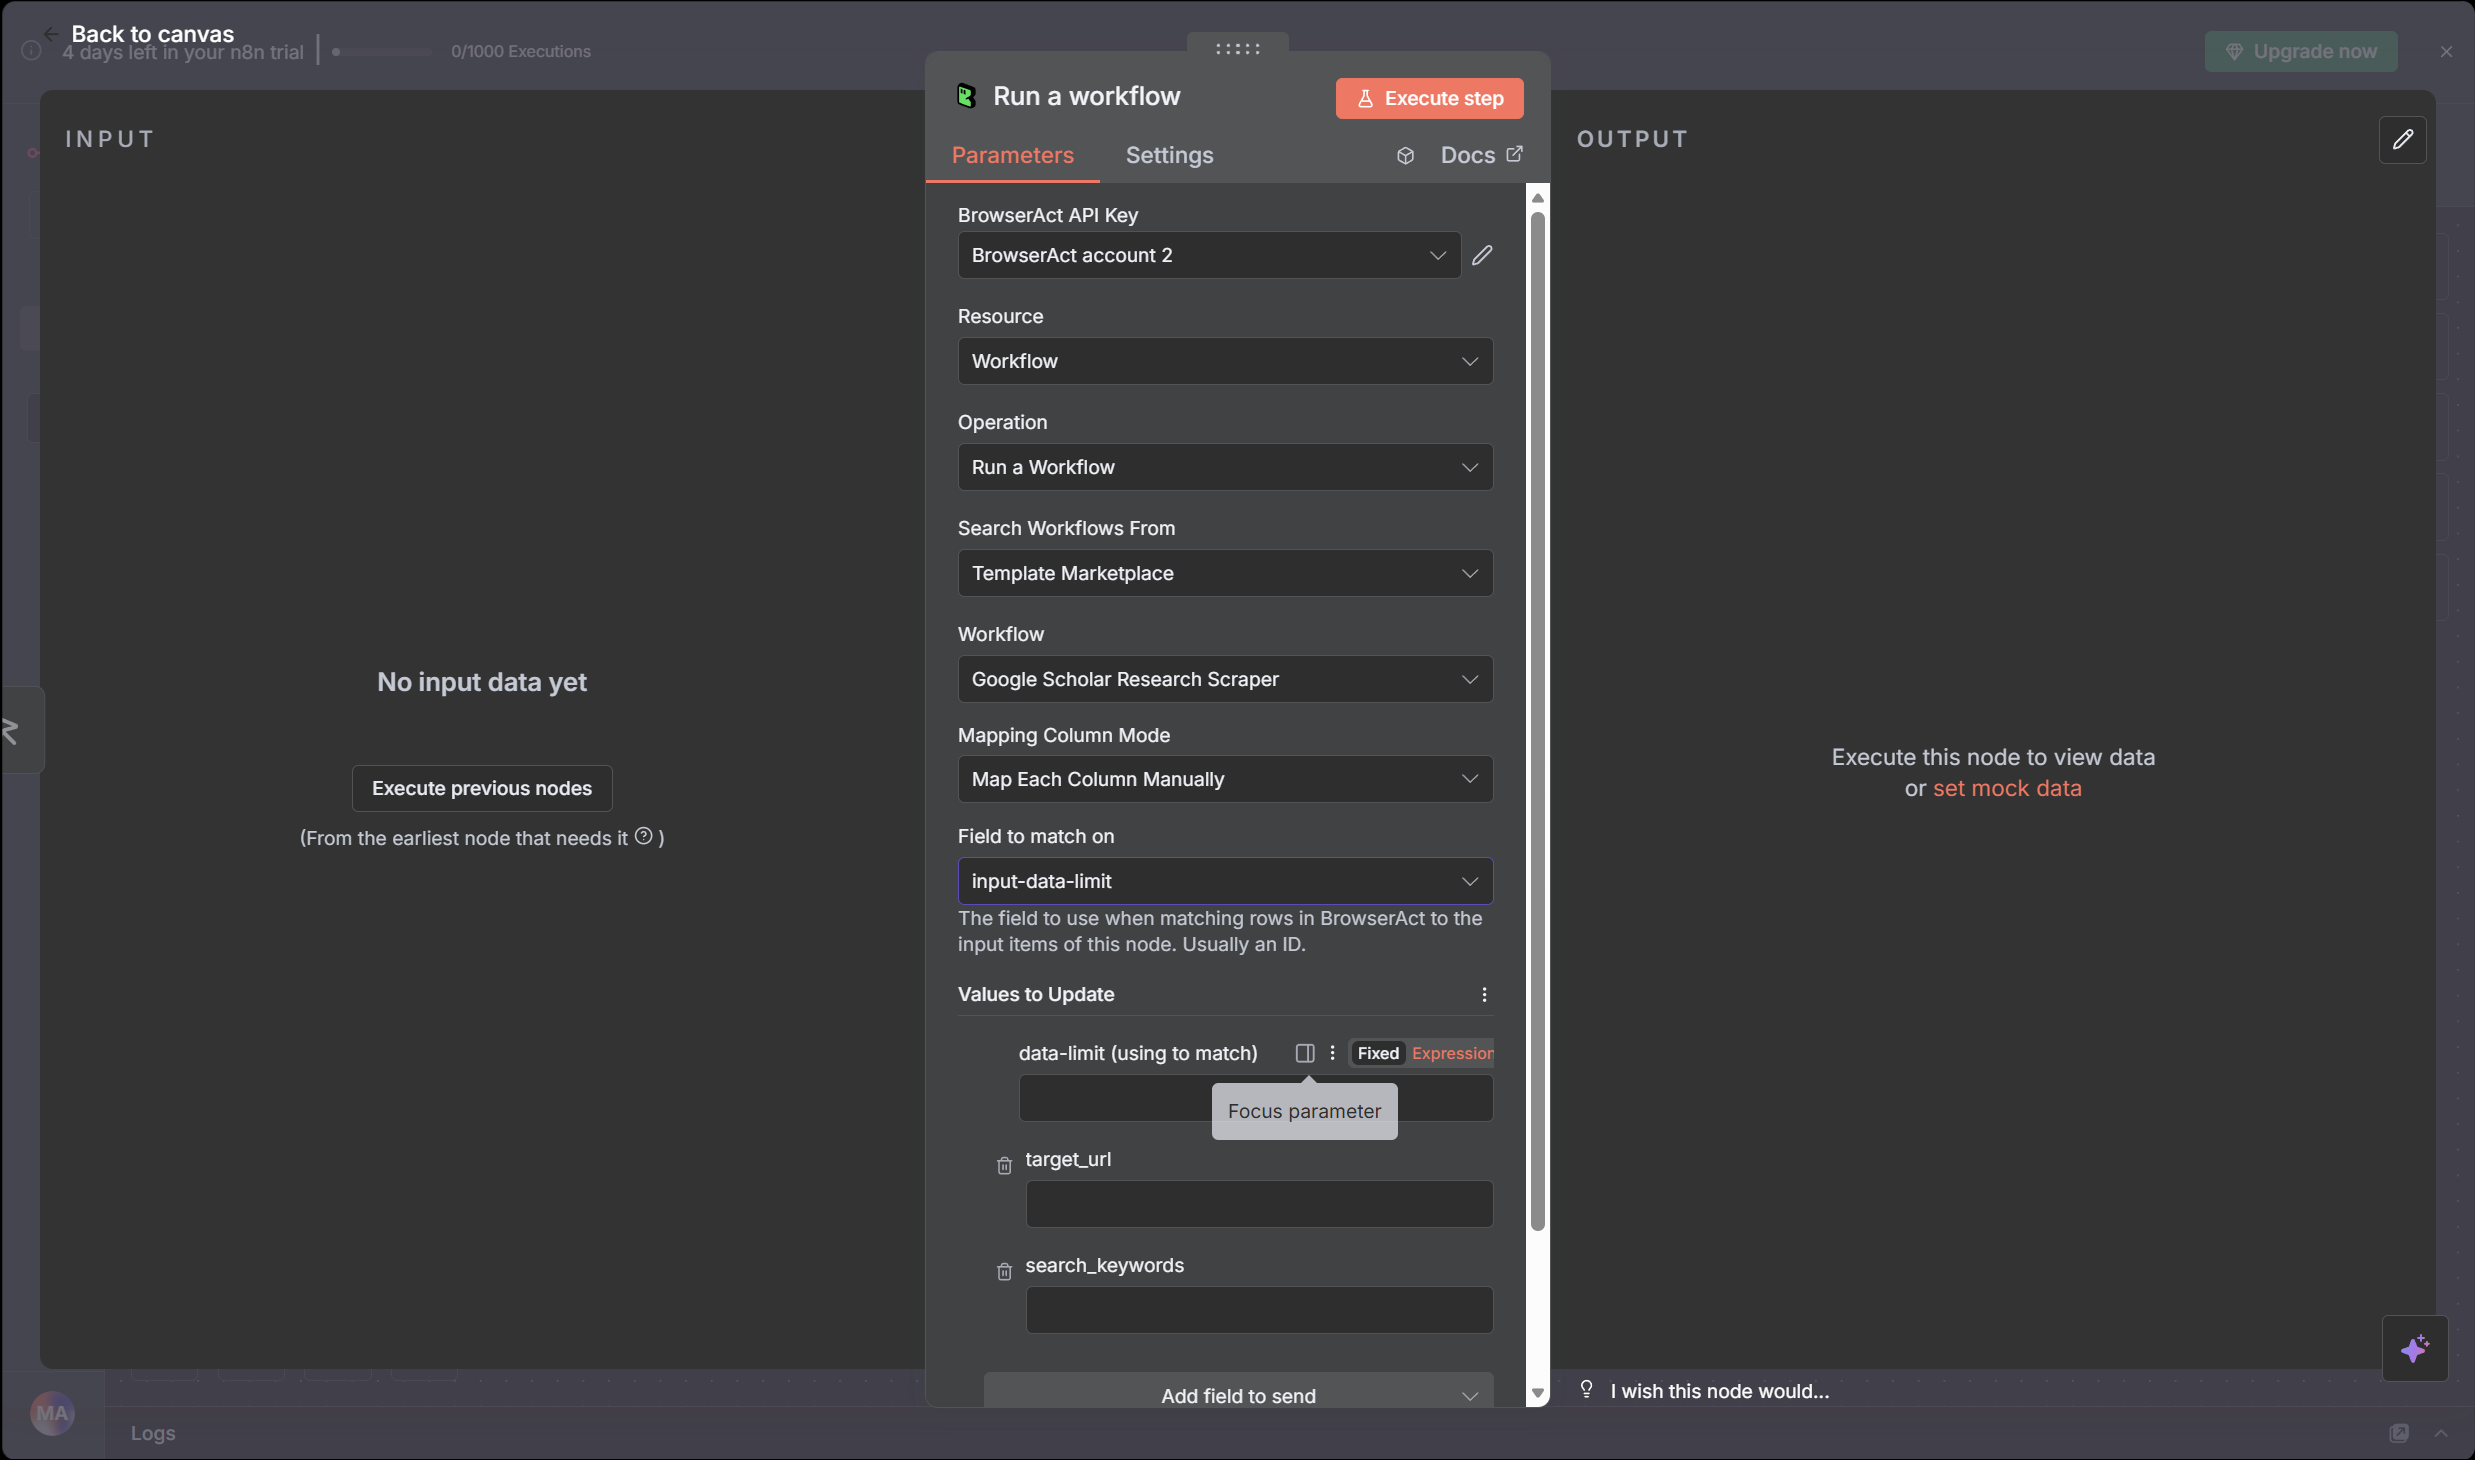
Step 3: Choose Your Workflow
- In the BrowserAct node, set Resource to
Workflow
- Set Operation to
Run a workflow
- Choose search source:
- My Workflows – Your own workflows (most common)
- Template Marketplace – Pre-built templates (optional)
- Select your workflow from the dropdown list
After you pick a workflow, n8n automatically shows you all input parameters that workflow needs (like “City”, “URL”, “Keyword”, etc).
Now map data from previous nodes:
- For each parameter field, click the input area
- Choose Mapping mode (click the icon with 3 dots)
- Select the field from your previous node:
- From Google Sheets? Pick the column name
- From webhook? Pick the field name
- From database? Pick the data field
Example mapping:
BrowserAct param “City” ← Sheets column “city”
BrowserAct param “Keyword” ← Webhook field “search_term”
BrowserAct param “URL” ← CRM field “website”
Step 5: Test the Integration
- Click the “Test” button (or press
Cmd/Ctrl + Enter)
- n8n will execute your BrowserAct workflow with test data
- You’ll see your scraped data in the output panel on the right
- If you see results, you’re ready! If there’s an error, check troubleshooting below
Step 6: Save Your Workflow
- Click “Save” to save your workflow
- Your n8n workflow is now ready to use!
Step 7: Add Downstream Actions (Optional)
Now that your BrowserAct node runs, you can add more nodes after it:
- Google Sheets – Write results to a spreadsheet
- Email – Send results via email
- Slack – Post to Slack channel
- Database – Store in PostgreSQL, MongoDB, etc.
- IF/Router – Branch logic based on results
- HTTP Request – Send to any webhook
These nodes will receive the data from BrowserAct and do something with it!
📋Real-World Scenarios
Scenario 1: Daily Competitor Price Check → Email
What happens: Every morning at 8am, check competitor prices and email the team
Scheduler (trigger every day at 8am)
↓
BrowserAct (get competitor prices)
↓
Google Sheets (update data)
↓
Email (send daily report)
↓
✅ Team gets daily report automatically
Setup: Scheduler → BrowserAct → Sheets → Email
Scenario 2: Webhook Trigger → Enrich Data → Store
What happens: Website form submitted → Get company data → Add to database
Webhook (form submission)
↓
BrowserAct (look up company info)
↓
Database (store enriched data)
↓
✅ Lead data automatically enriched
Setup: Webhook → BrowserAct → Database
Scenario 3: Batch Process Spreadsheet Rows
What happens: Process 100 products from Google Sheets, run BrowserAct for each one
Google Sheets (product list)
↓
Loop (for each row)
↓
BrowserAct (extract data for each product)
↓
Update Sheets (add results back)
↓
✅ All products enriched in one go
Setup: Sheets → Loop → BrowserAct → Update Sheets
🆘Troubleshooting
❌ “API Key Invalid” or “Connection Failed”
n8n can’t authenticate with BrowserAct
Fix: (1) Double-check your API key is correct (copy from BrowserAct Settings) (2) Make sure key is not expired or regenerated (3) Try creating a new API key if needed (4) Click “Test Connection” button in n8n to verify
❌ “Workflow Not Found”
n8n can’t find your BrowserAct workflow
Fix: (1) Make sure workflow is Published in BrowserAct (2) Refresh the workflow dropdown (sometimes cache needs refresh) (3) Check you’re looking in “My Workflows” not “Templates” (4) Try re-authorizing your connection (delete and recreate credential)
❌ “Parameter Mismatch” or “Field Not Found”
Input parameters don’t match what BrowserAct expects
Fix: (1) Check parameter names are exact match (case-sensitive!) (2) Verify data types (string vs number vs boolean) (3) Make sure previous node outputs the field you’re mapping (4) Use “Test” button to see the actual data being sent
❌ Workflow Runs but Returns Empty/Null Results
BrowserAct runs but doesn’t find data
Fix: (1) Test the workflow directly in BrowserAct first (does it work there?) (2) Check that parameters are being passed correctly (3) Verify the website hasn’t changed (layouts change, elements move) (4) Check if you’re hitting rate limits (too many runs too fast)
❌ Timeout Error (Workflow takes too long)
Workflow execution exceeds time limit
Fix: (1) Check if website is slow (test workflow manually in BrowserAct) (2) Add wait/delay nodes in BrowserAct if page loads slowly (3) Some websites block automated access (try proxy, add delays) (4) Contact support if legitimate workflow times out
🚀 What’s Next?
You now have basic n8n integration. Consider these next steps:
1️⃣ Automate Regularly Set up a Scheduler node so your workflow runs automatically (daily, hourly) without you doing anything
2️⃣ Expand Downstream Actions Send results to more places (email, Slack, multiple sheets, database, CRM, etc.)
3️⃣ Add Conditional Logic Use IF/Router nodes to decide what to do based on the results
4️⃣ Batch Process Multiple Items Loop through 100s of items from a spreadsheet and process each one with BrowserAct
5️⃣ Build Complete Workflows Combine with n8n’s 400+ apps to create complex business automations
Resources: • BrowserAct API Reference • n8n Documentation • More How-To Guides • BrowserAct Support