
- Scrolling to the comment section on YouTube, Instagram, or forums.
- Scrolling to a specific “Job List Area” or “Product Review Area” in the middle of a page.
- Scrolling to specific areas like “Form Bottom” or “Footer Subscription Area” on long pages.
- Locates target areas based on natural language descriptions.
- Automatically scrolls up to approximately 10 screens until the element appears in the visible area.
- Supports target area selection on pages with multiple scrollable regions.
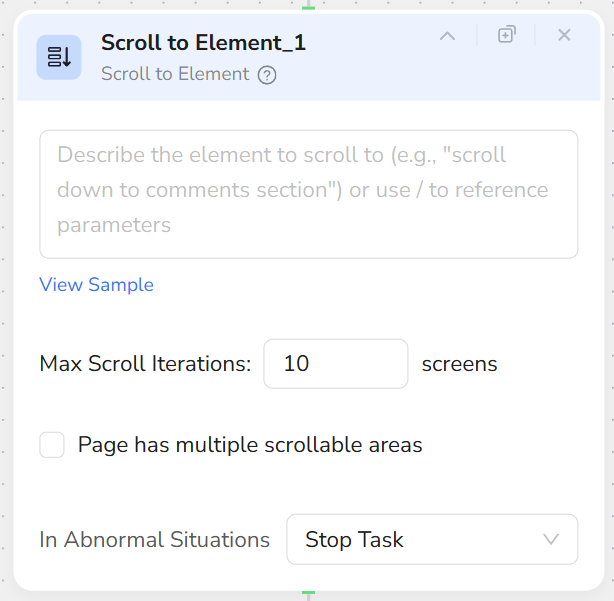
- Add a Scroll to Element node.
- Describe the target element/area in the description field, for example:
- “Comment section”
- “The job list area in the middle of the page”
- “The newsletter subscription form at the bottom”
- If the page has multiple scrollable areas:
- Check Page has multiple scrollable areas.
- Describe the specific area to scroll (e.g., “Main content area”, “Comment area”).
- Configure the maximum scroll attempts (default is roughly 10 screens).
- At runtime, the node scrolls screen by screen until the target area is located, then executes subsequent nodes.
- Descriptions should target the “Area” rather than an action, for example:
- ✅ “Scroll to the comment section”
- ❌ “Scroll down until you see the button”
- If you need to click or extract data after scrolling, place Click Element / Extract Data after this node.
- For complex page structures, verify the relative position of the area in a browser before writing the description.