Before you start
- Use a published Agent-built Bot with a result table.
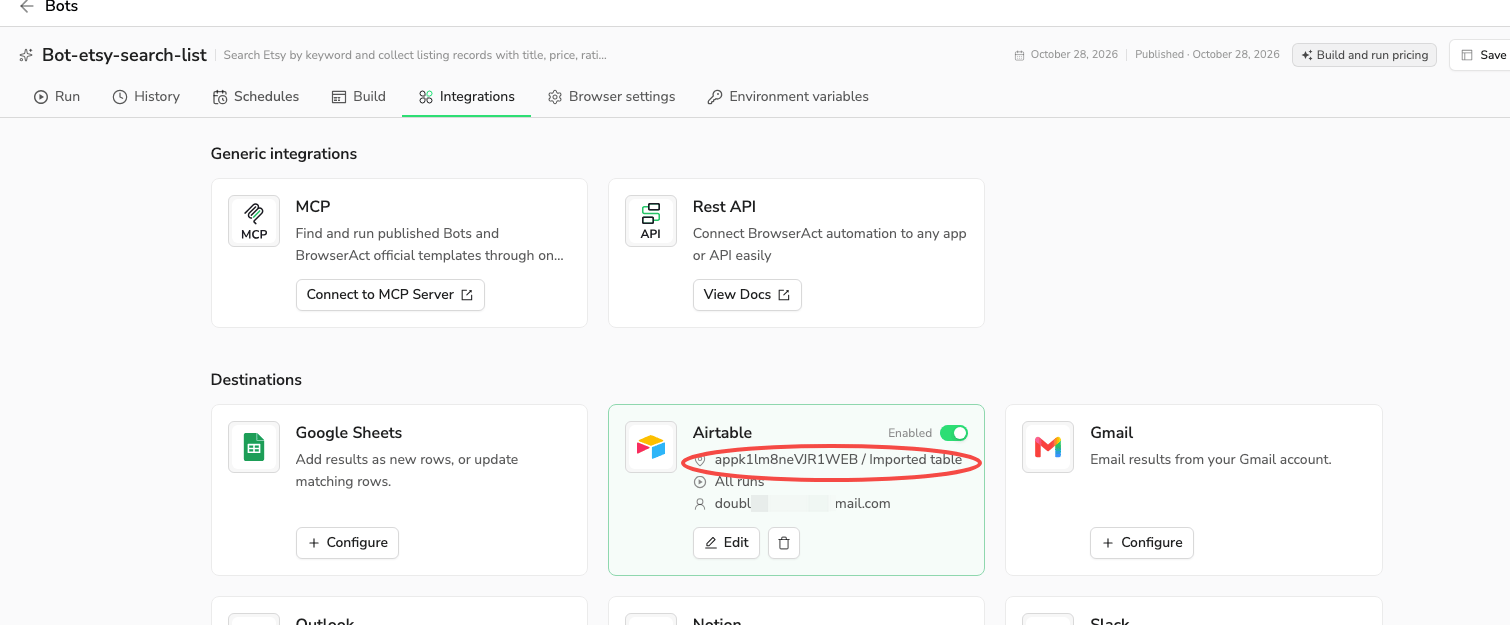
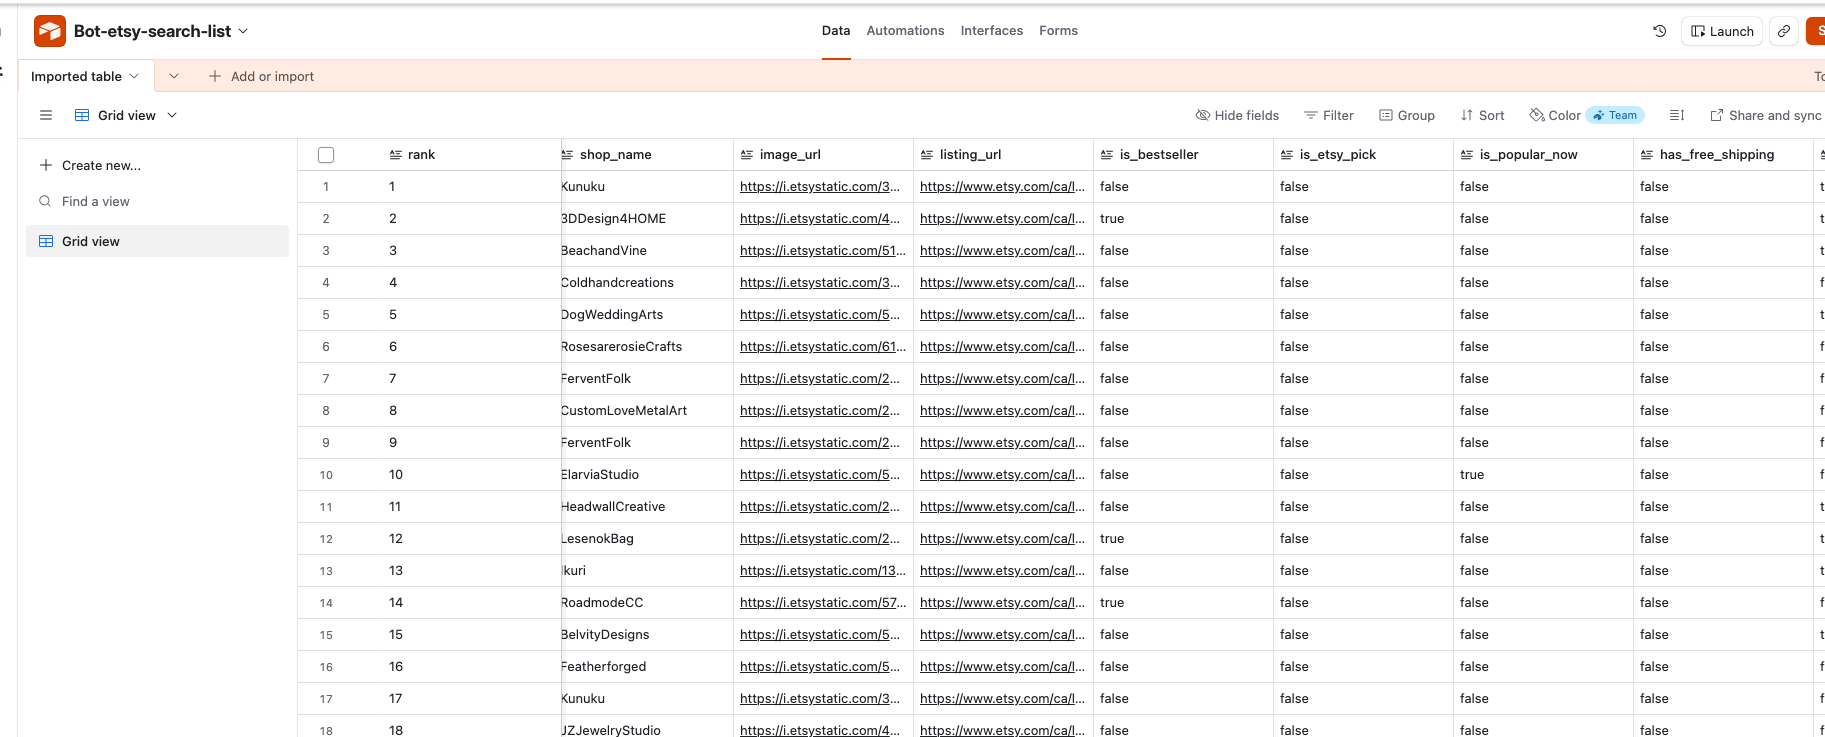
- Create an Airtable base and a table with fields for your Bot’s output.
- Use an account with write access to the table.
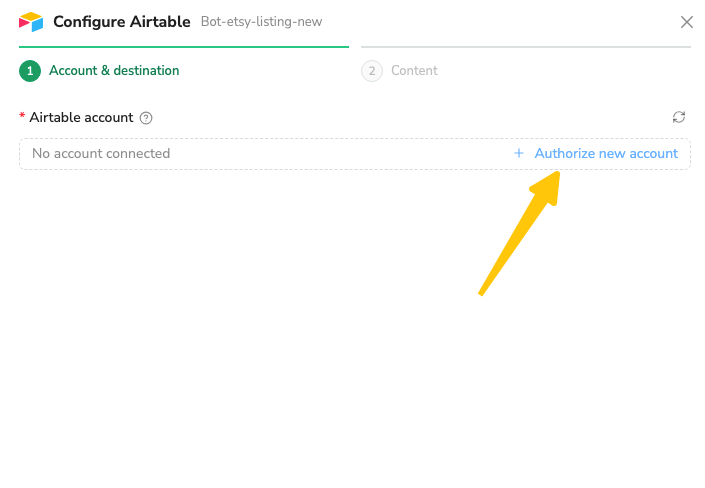
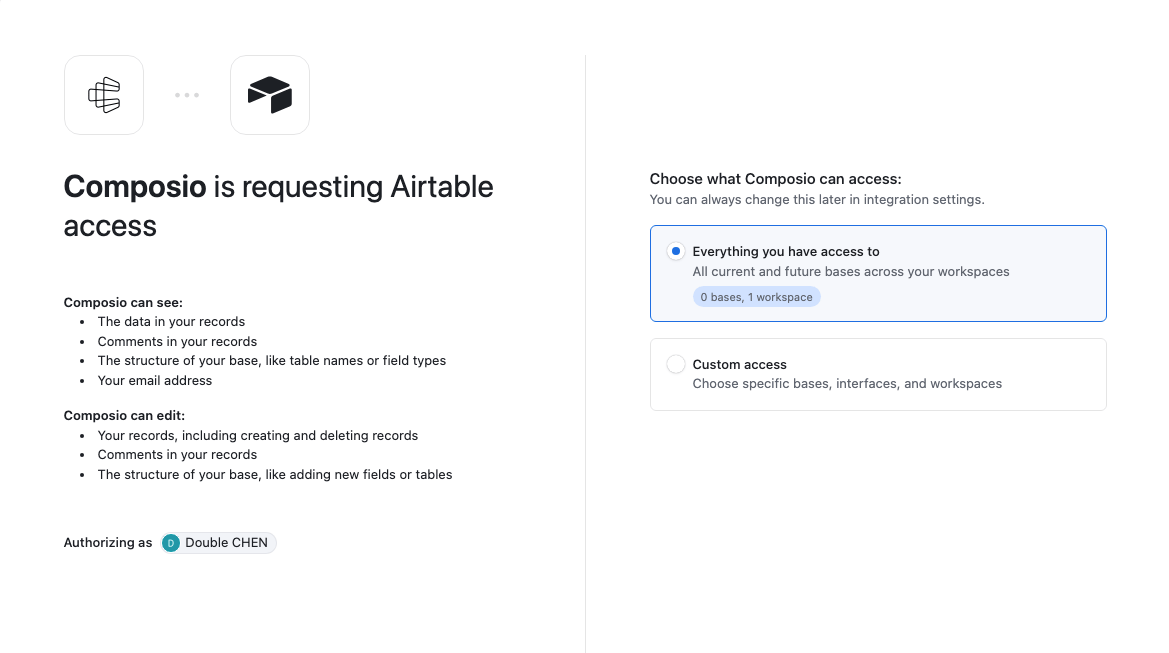
1. Connect Airtable
Open your Bot → Integrations → Airtable → Configure.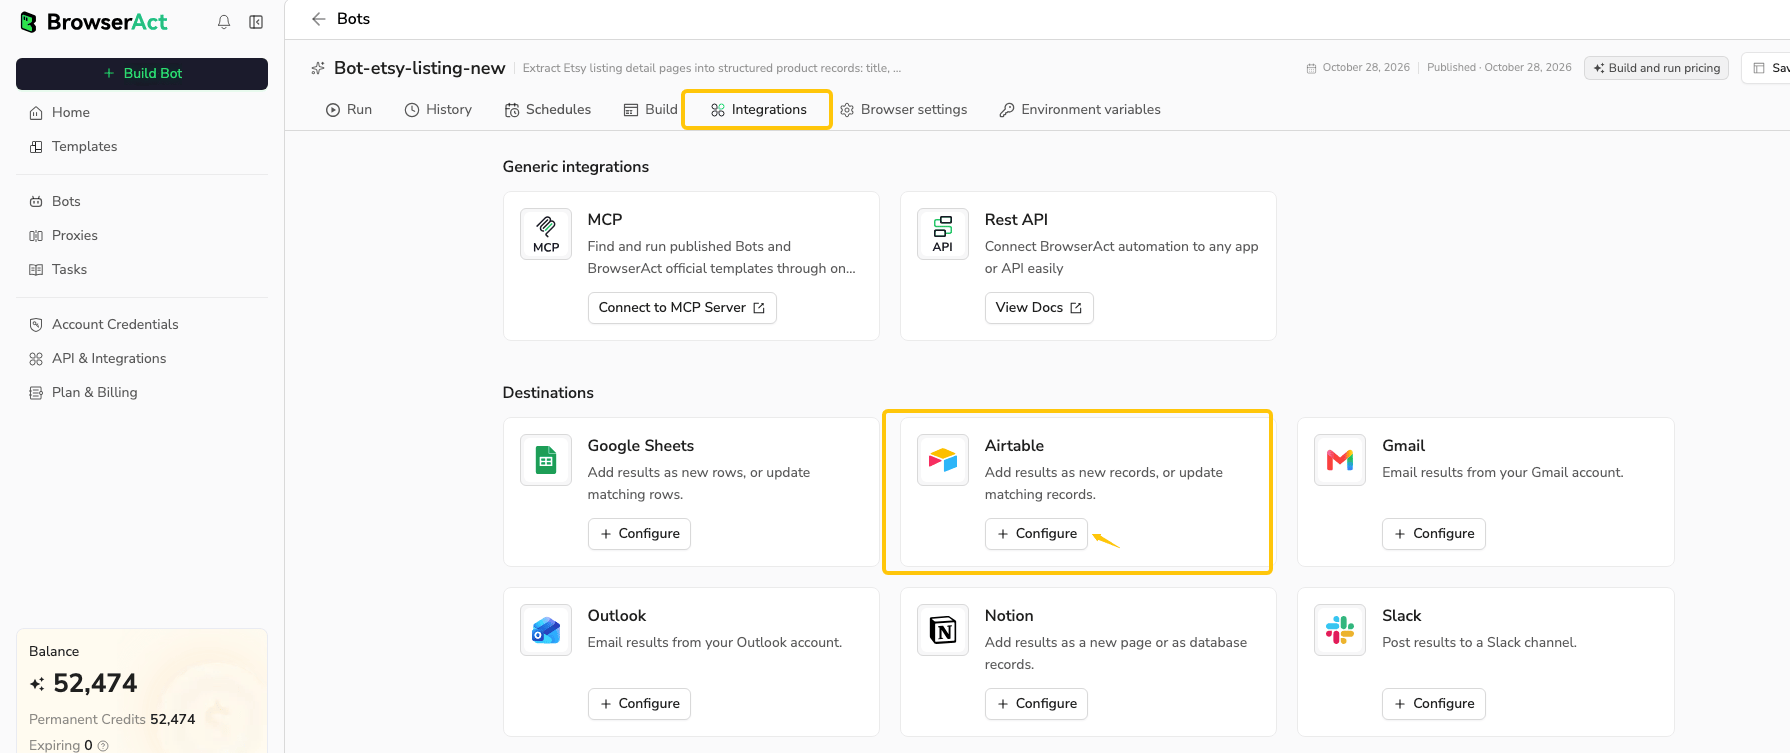
2. Select the table and run sources
Return to BrowserAct and confirm Connected. Choose your Base and Table; refresh either list if needed. Under Runs to deliver, select at least one source: Manual runs, Scheduled runs, Runs from Make, n8n & Zapier, or API runs. Click Next. Only successful runs from selected sources deliver results. See delivery conditions for exclusions.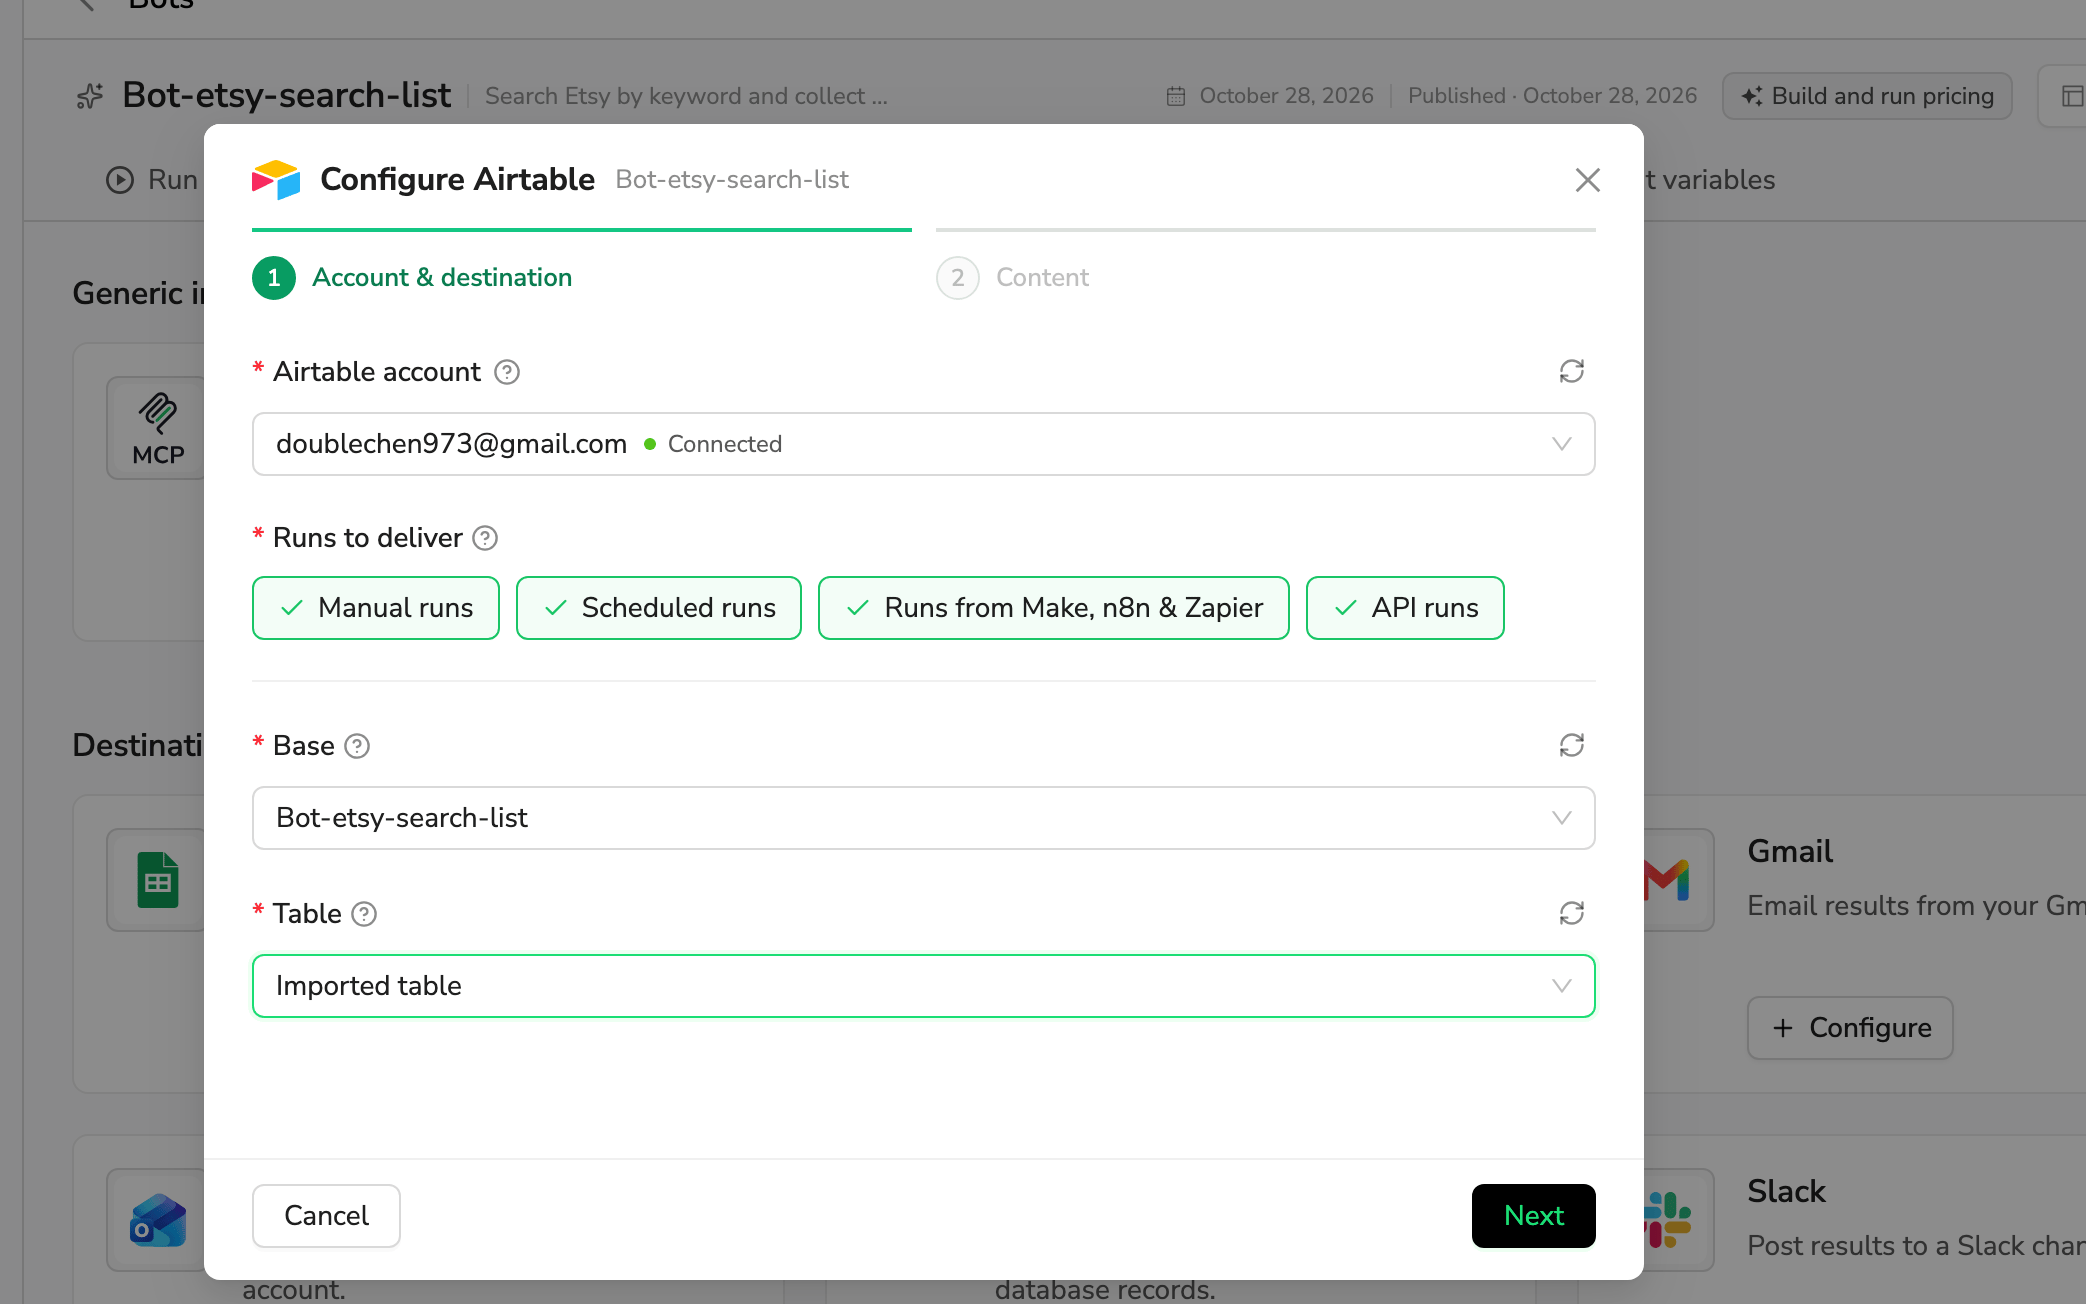
3. Set the write mode and field mapping
In Content, map each Bot output field you want to store to a Table field.Add records
Select Add records to create a new record for each result.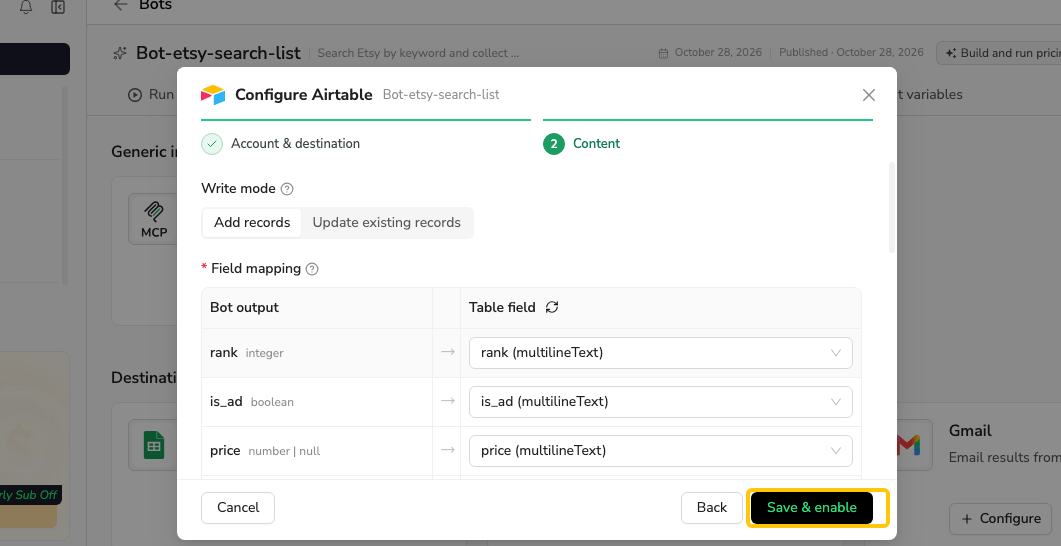
Update existing records
Select Update existing records and choose one mapped field under Match, such as a product URL.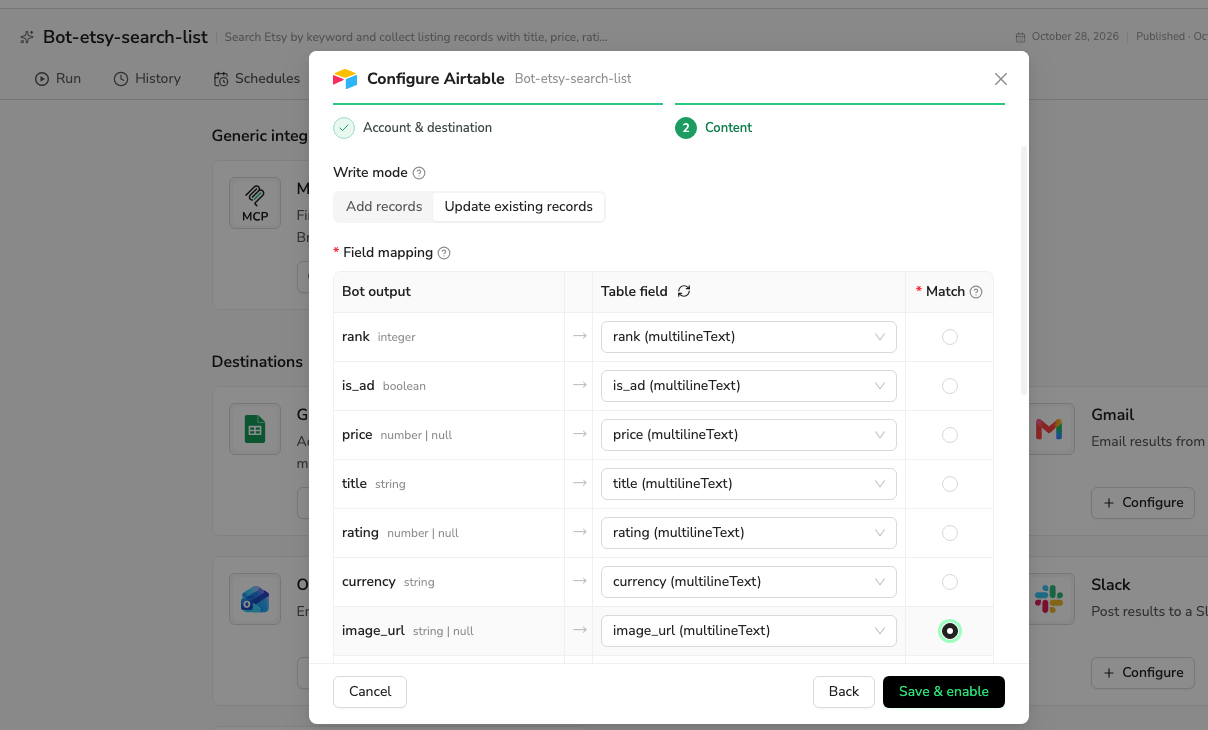
- Matching is exact, including capitalization and spaces.
- All matching records are updated, using only mapped fields.
- Unmatched results and empty Match values are skipped; no records are added.
- Empty values in other mapped fields may clear existing text fields.
4. Save and check delivery
Click Save & enable. The card shows the account, base, table, run sources, and Enabled switch. Saving does not send a test result.