

Video Tutorial
 Watch Build a Reusable Web Scraper from One Prompt on YouTube.
Before You Start
You need a BrowserAct account before you can build a Bot.- Open the BrowserAct website and select
Start Free Trial.
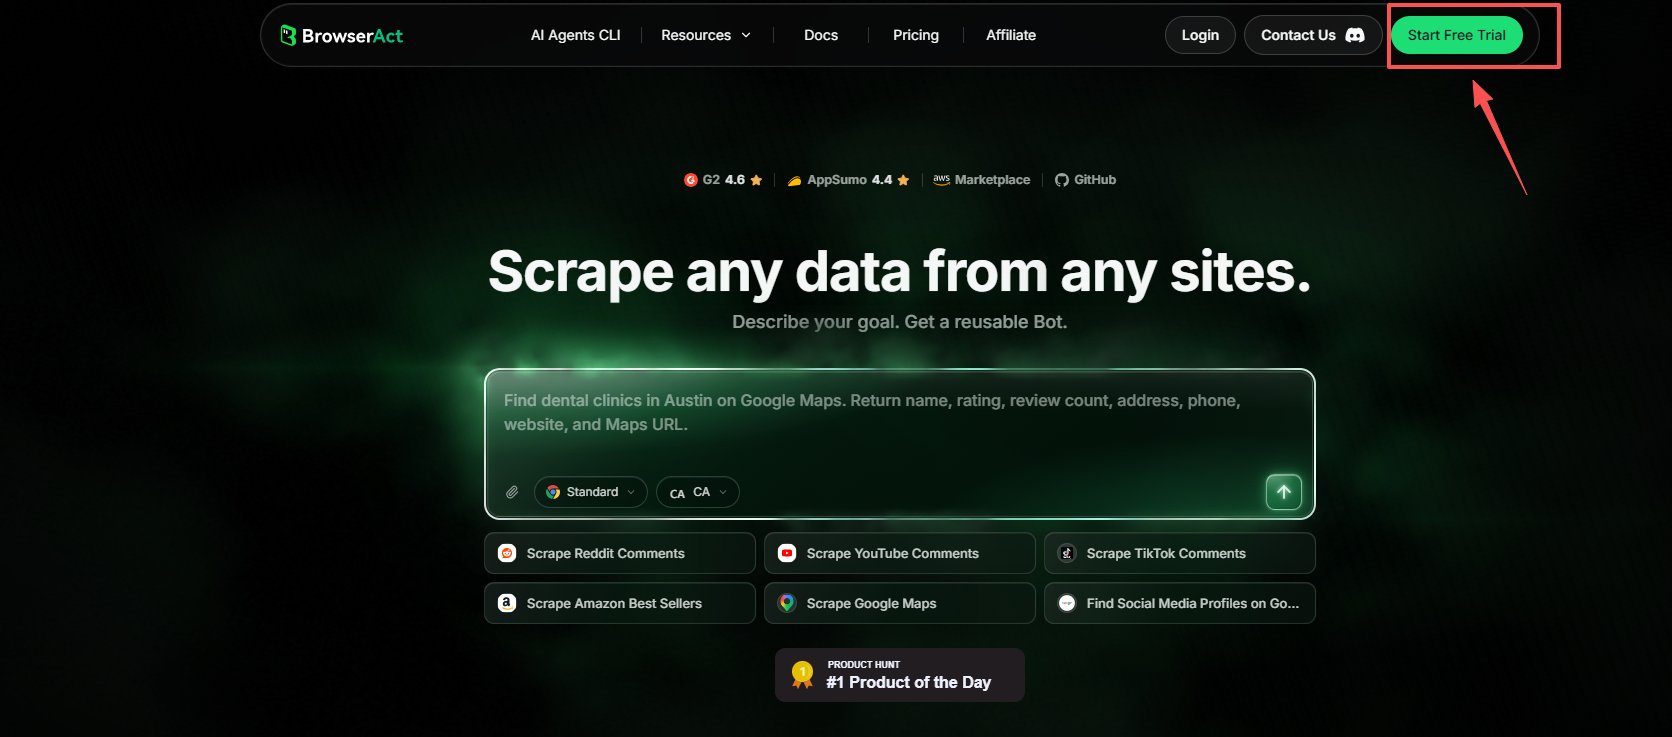
- Create your account with an email and password, or continue with Google or GitHub.
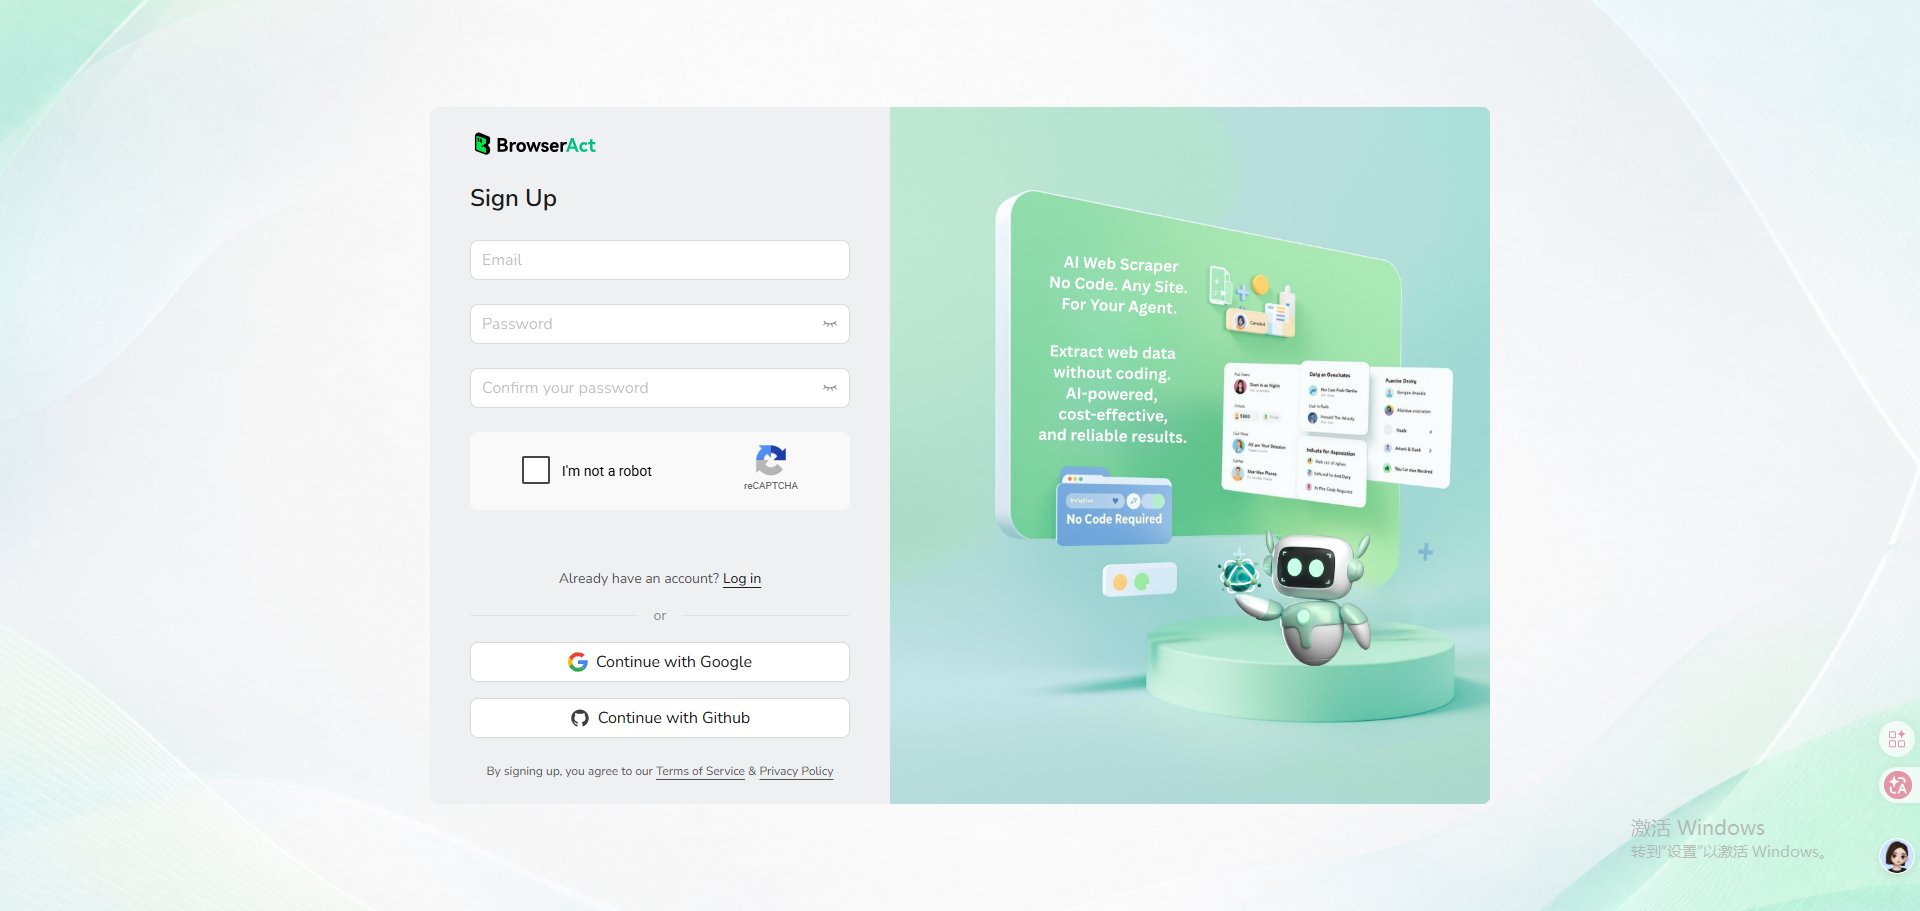
- Complete the required registration and onboarding questions to enter the Cloud dashboard.
Quick Start
Step 1: Describe What You Need
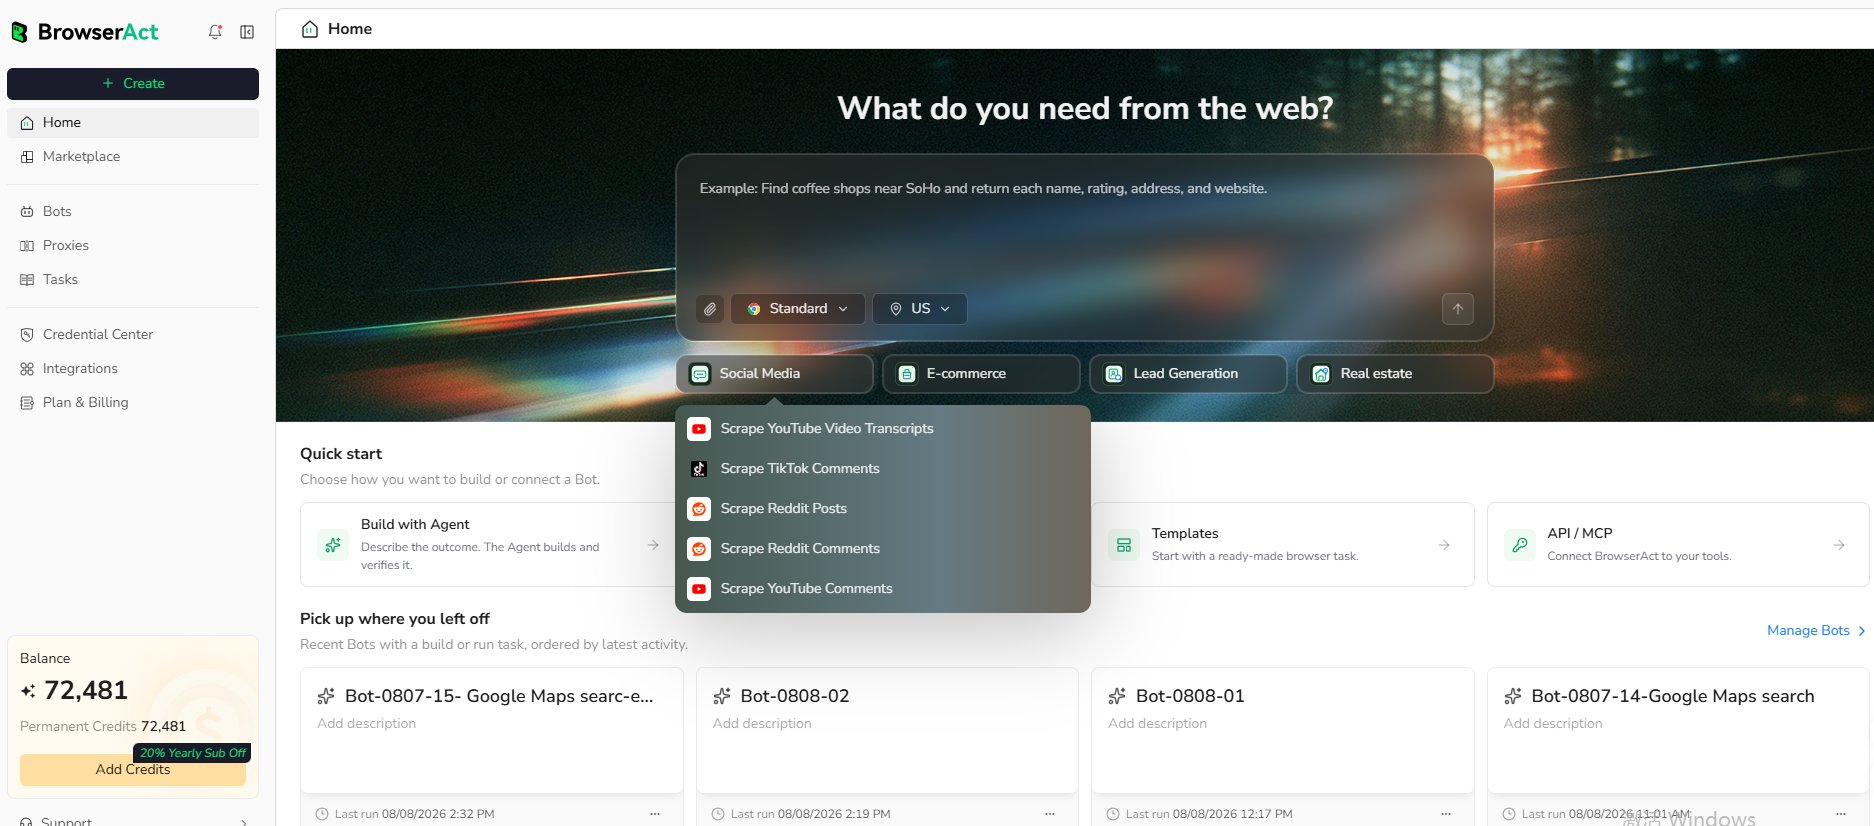
On Home, start Agent Built in either of these ways:- Select one of the configured prompt templates below the prompt box.
- Enter your own request directly in the prompt box.
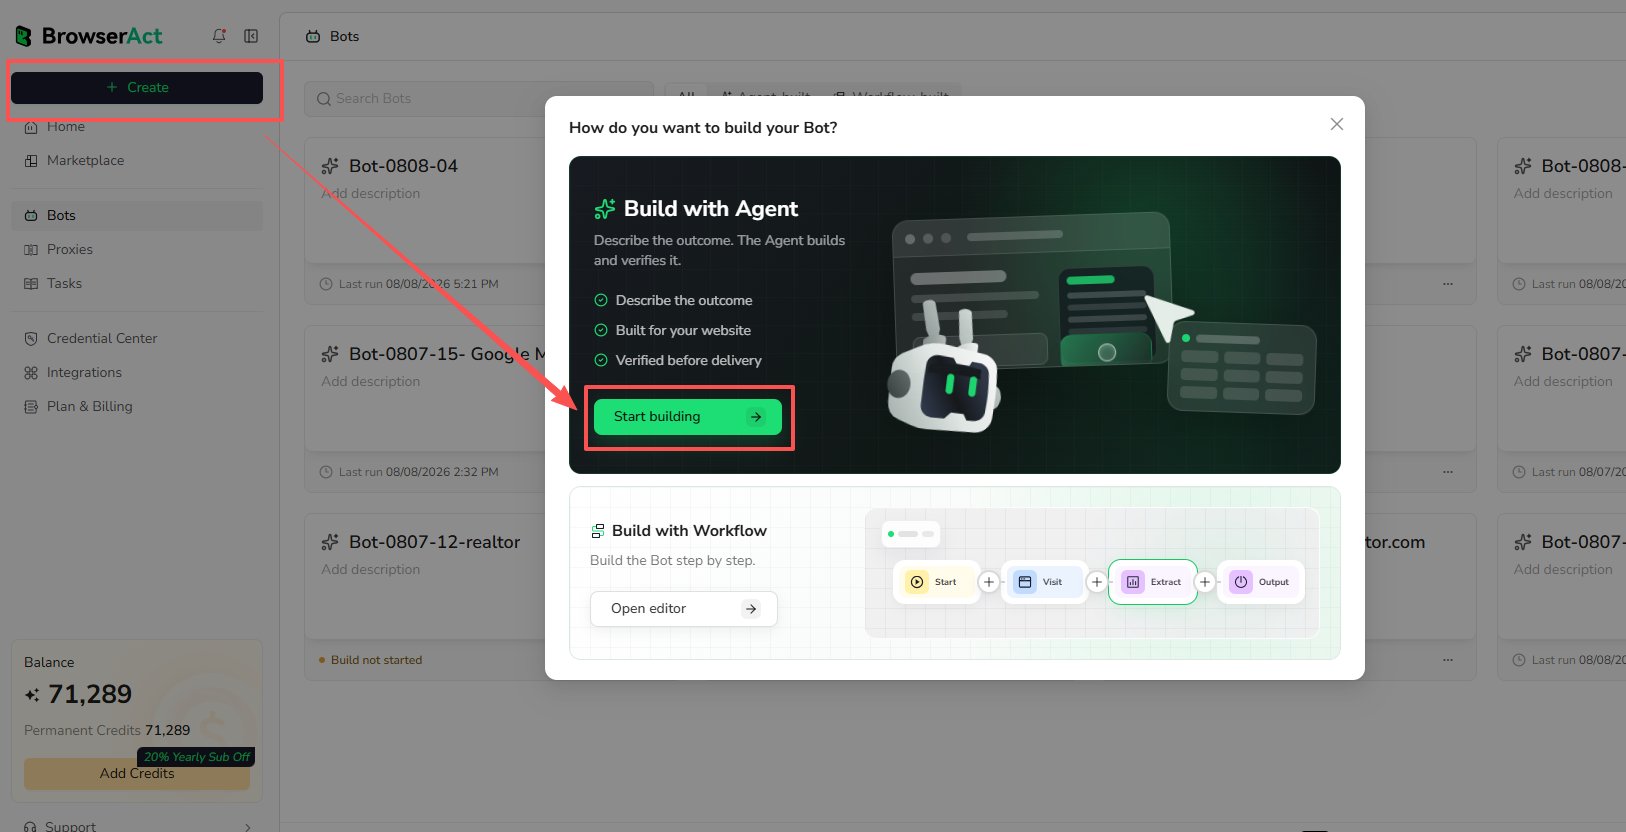
Create, then choose Start building under Build with Agent.
- Website: Where BrowserAct should start
- Records: What items or pages to collect
- Conditions: Keywords, categories, locations, filters, or date ranges
- Fields: The exact data to return
- Limit: How many results you need
- Inputs: Values you want to change in future runs
Step 2: Let BrowserAct Build and Test the Bot
BrowserAct explores the live website, determines how to reach the requested records, and tests the extraction. During the build, BrowserAct may navigate pages, apply filters, scroll, follow pagination, open detail pages, and validate output fields.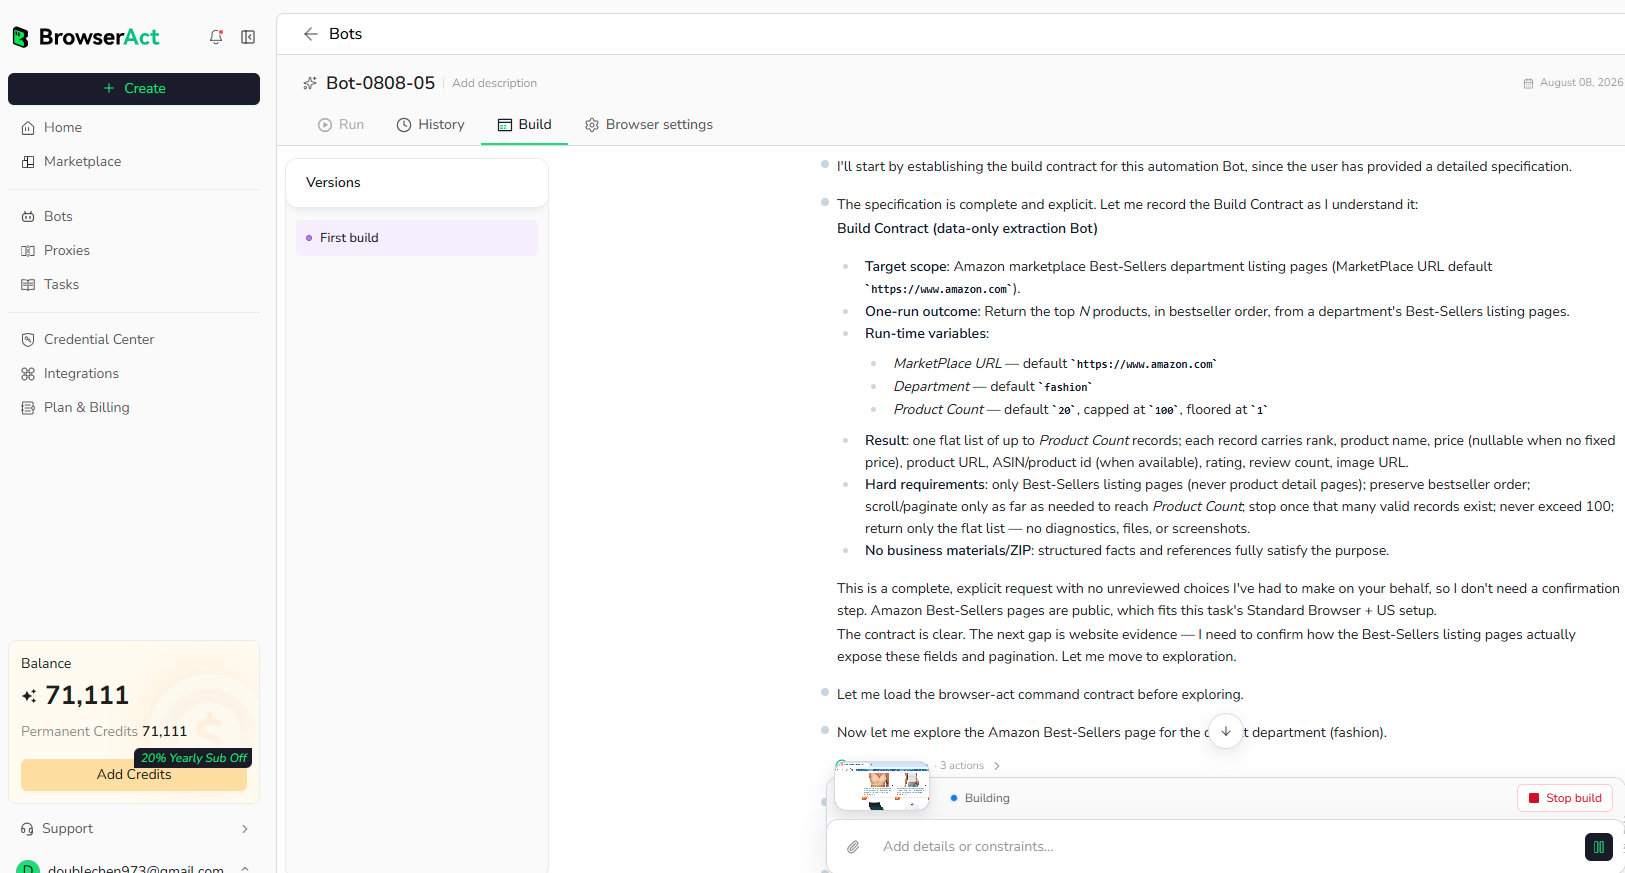
Step 3: Run the Bot and Get Results
When the build is complete, selectRun at the bottom of the Build page to run the Bot.
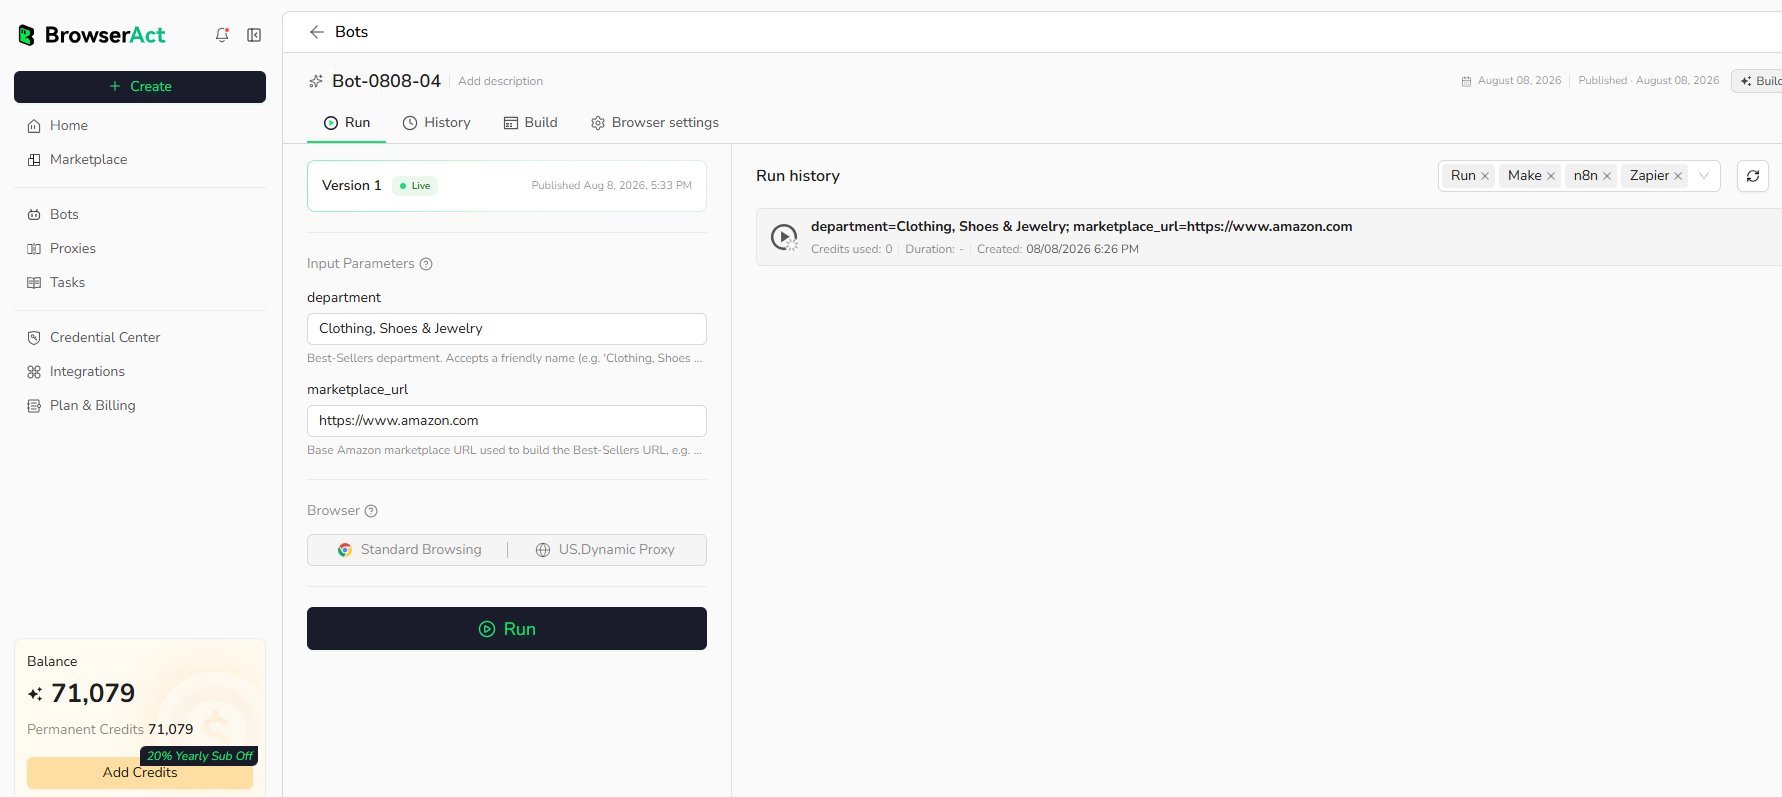
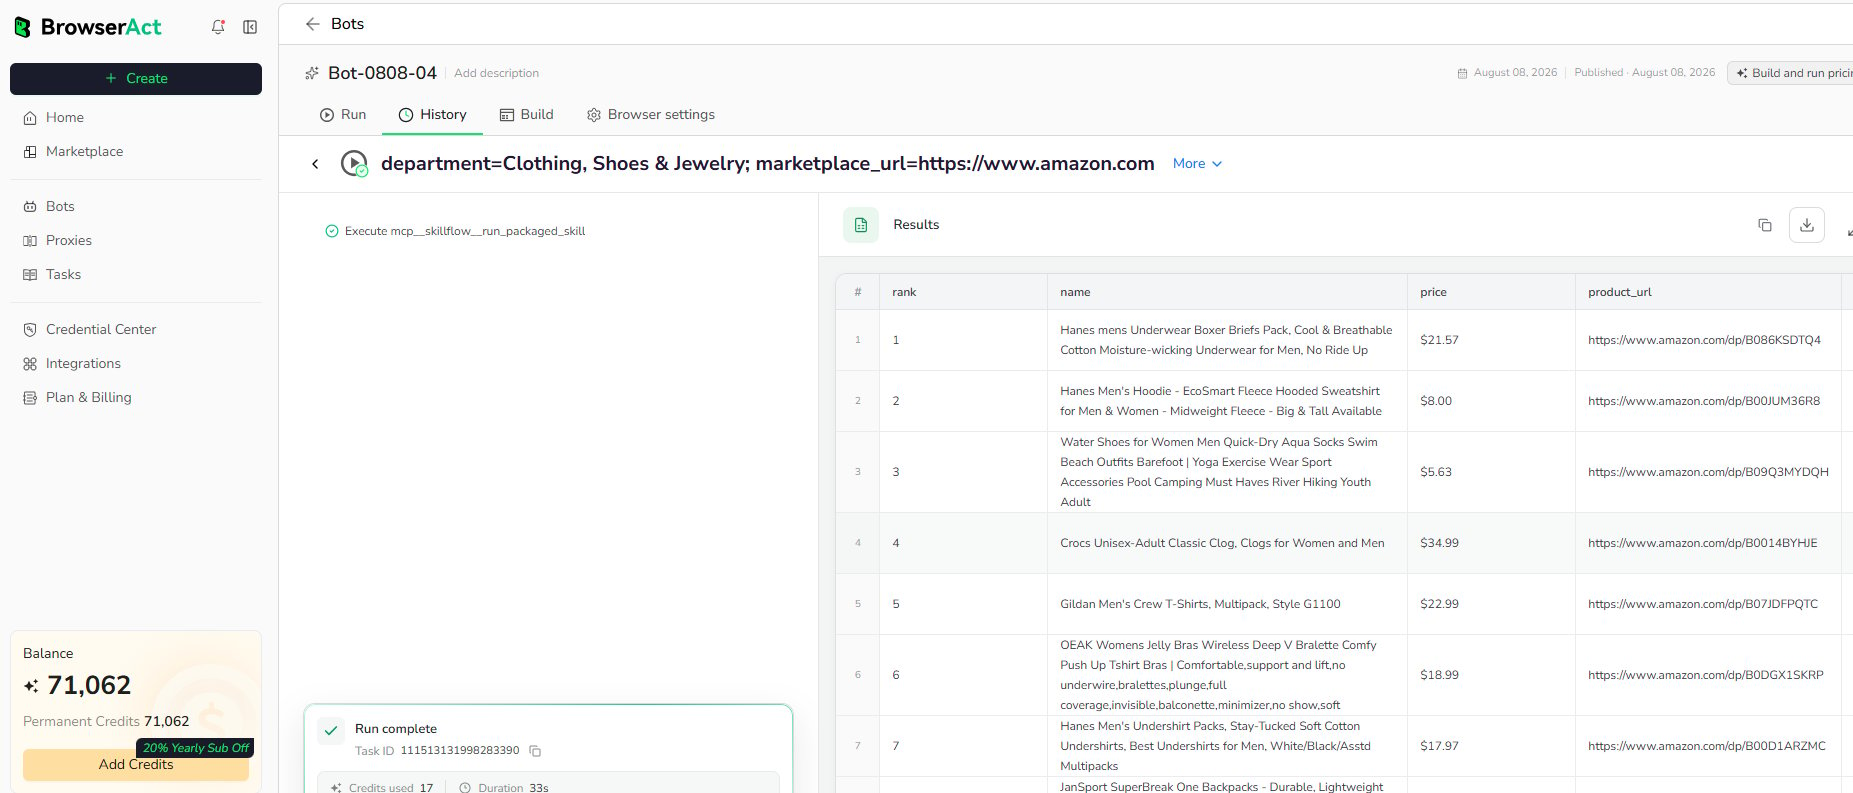
What to Do Next
- Learn how Agent Built works in detail.
- Configure Browser and Proxy settings when the website has a regional or session requirement.
- Open Tasks to inspect run status and results.
- Connect a tested Bot to Make, n8n, or Zapier.