

Import a Make Blueprint
- Log in to Make.
- Open
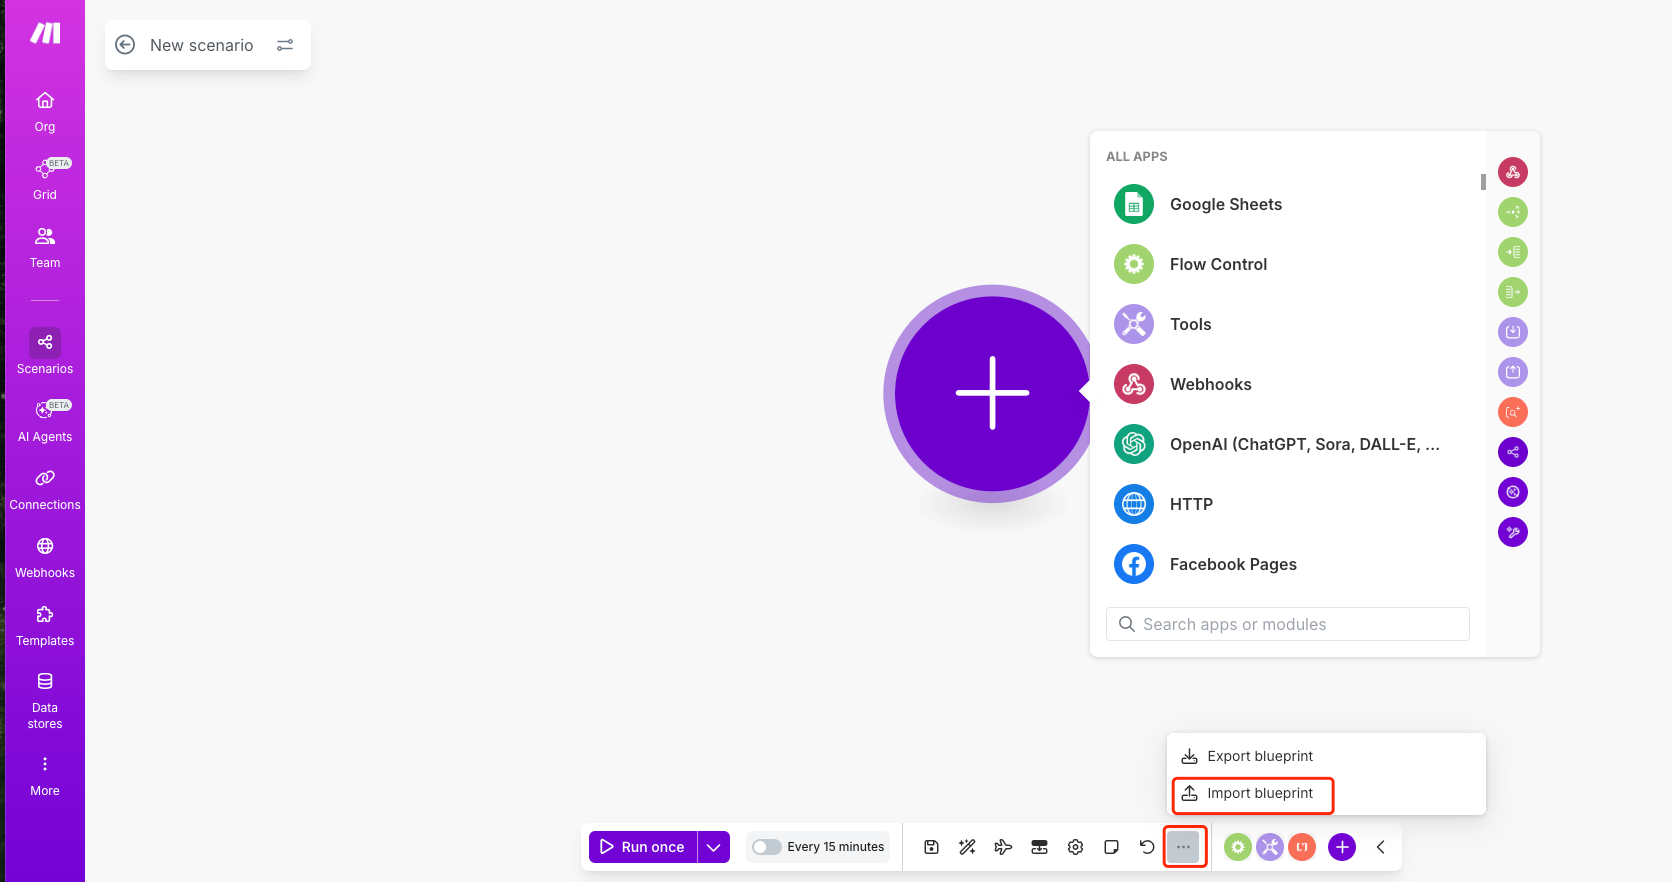
Scenariosand create a new scenario. - Open the scenario menu and select
Import Blueprint.
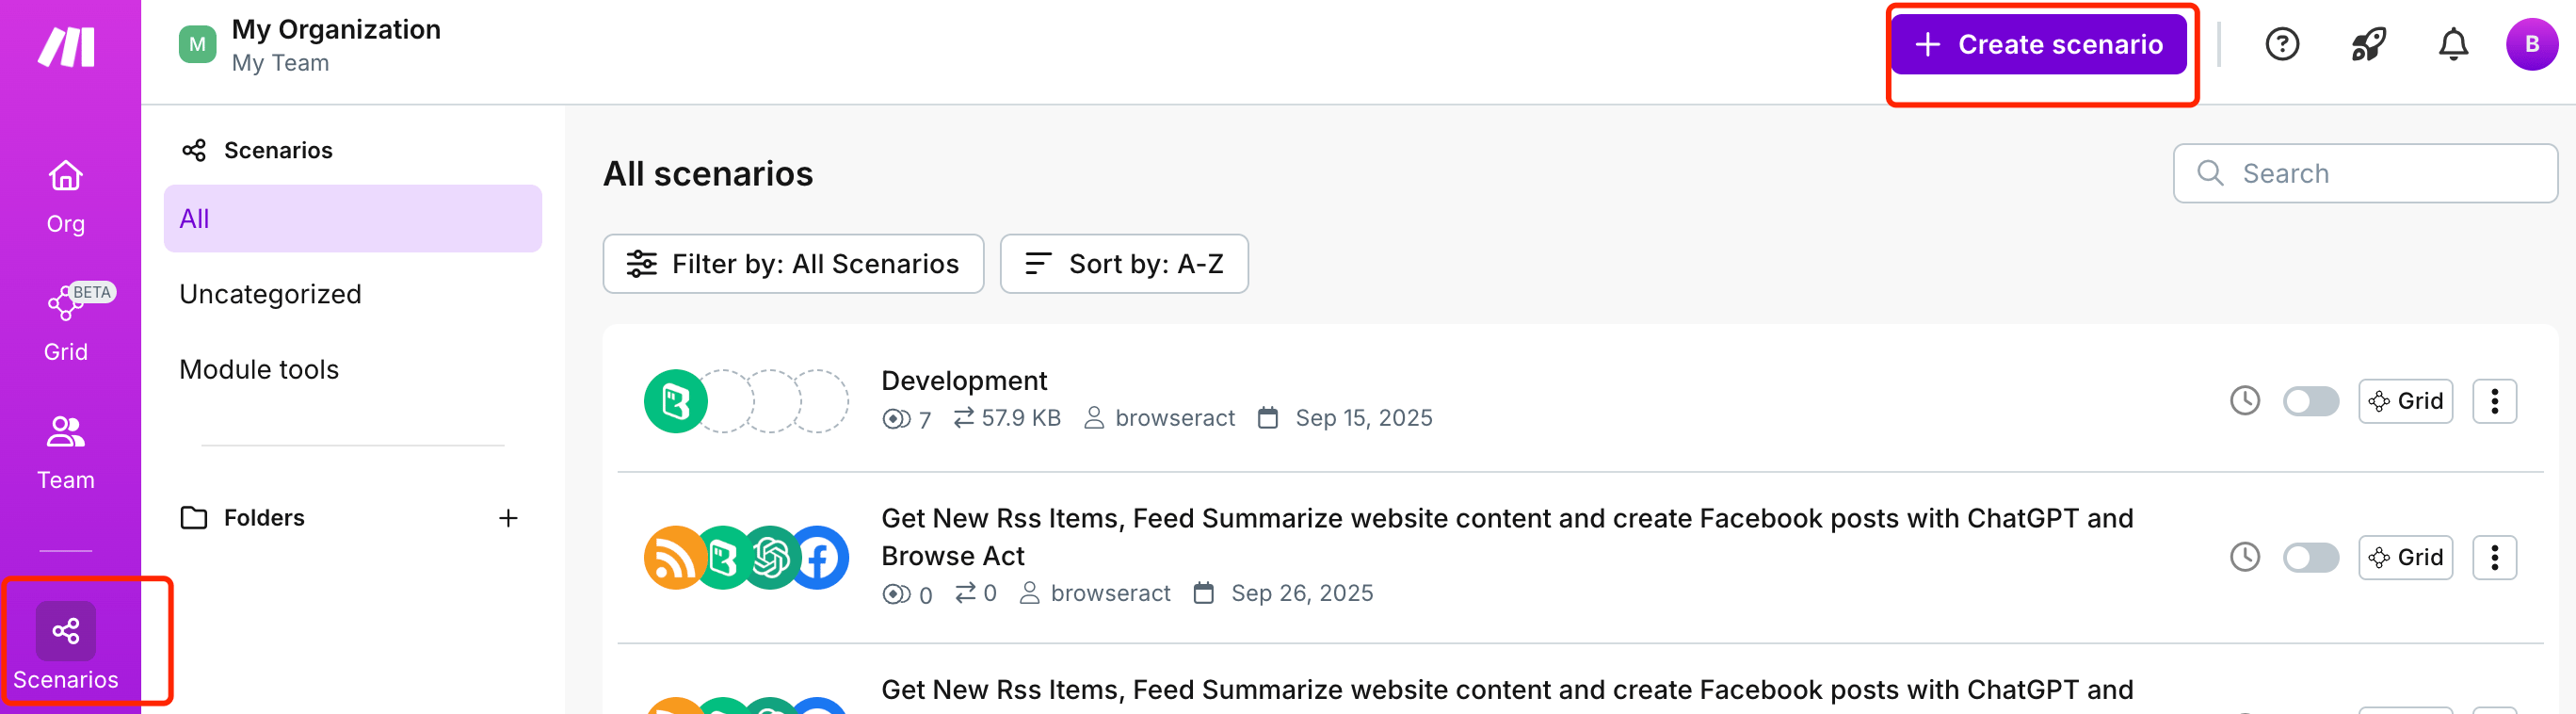
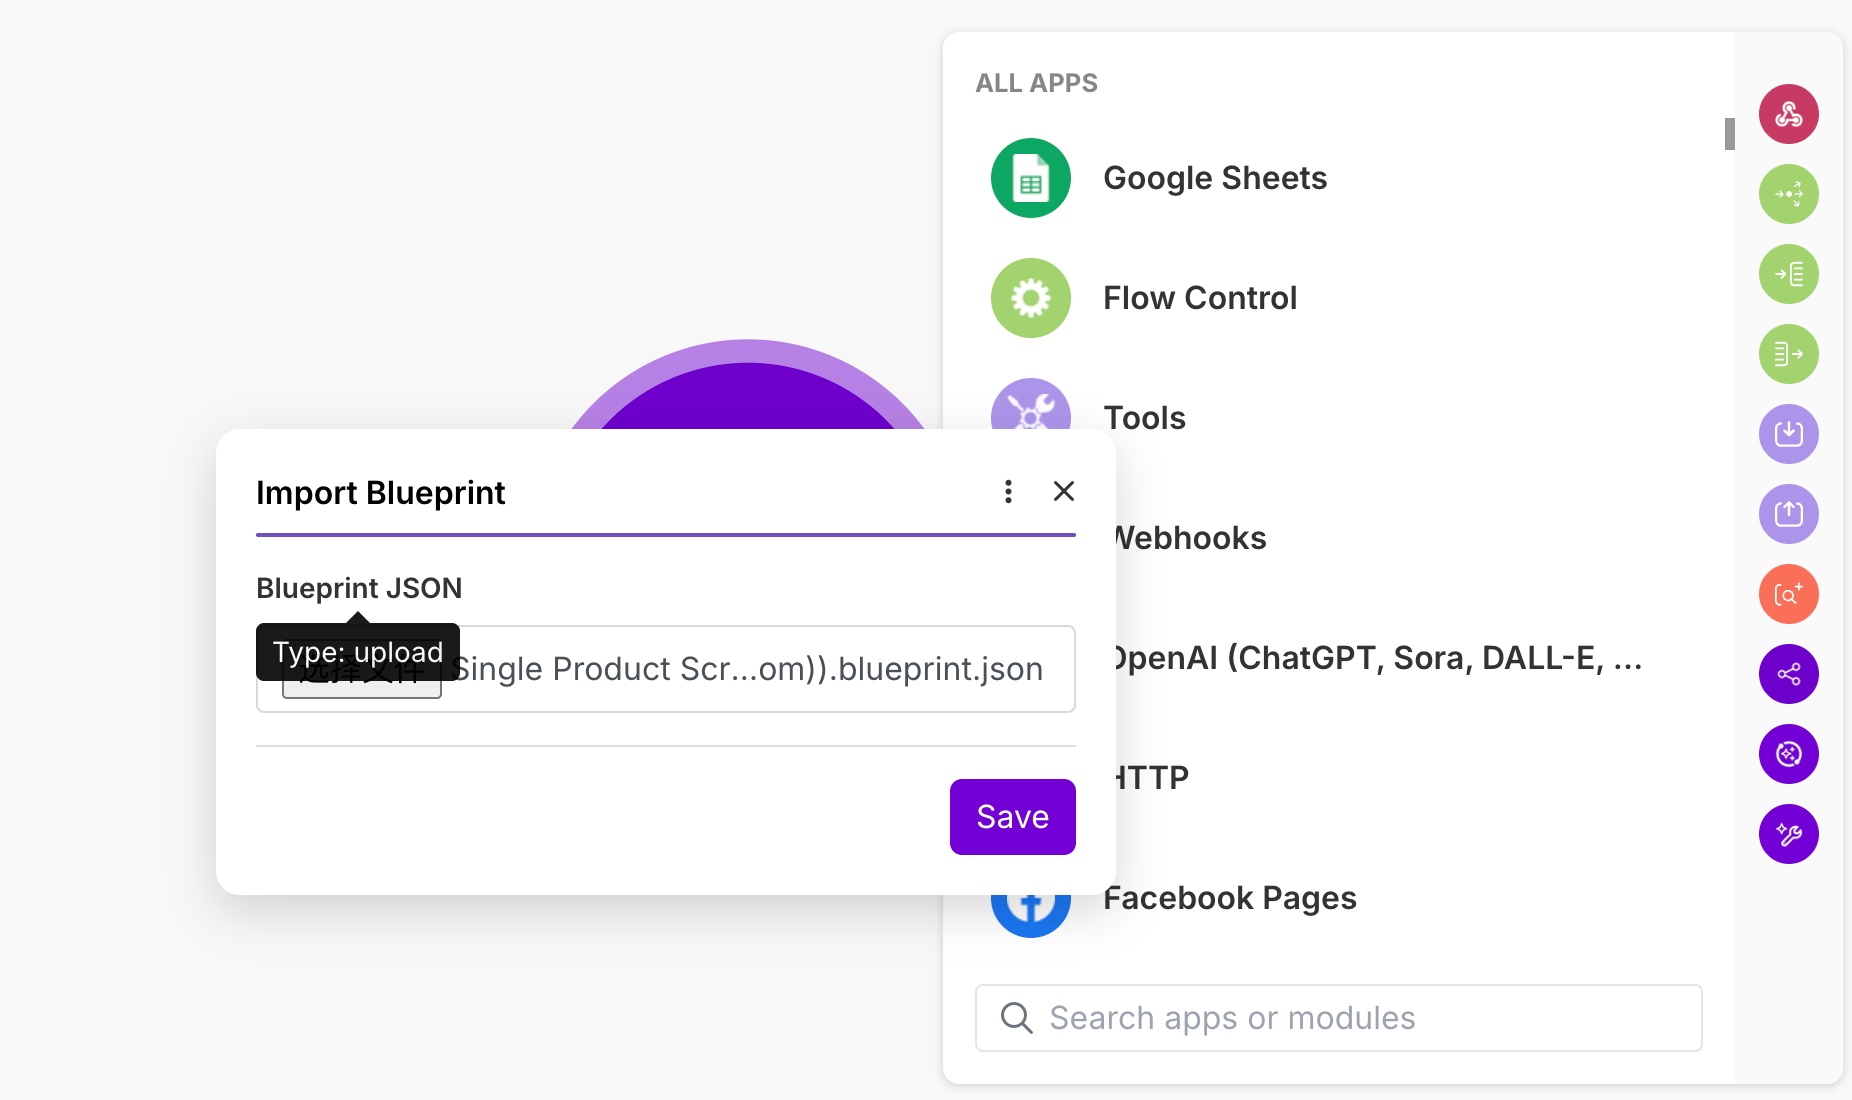
- Choose the JSON blueprint file and confirm the import.
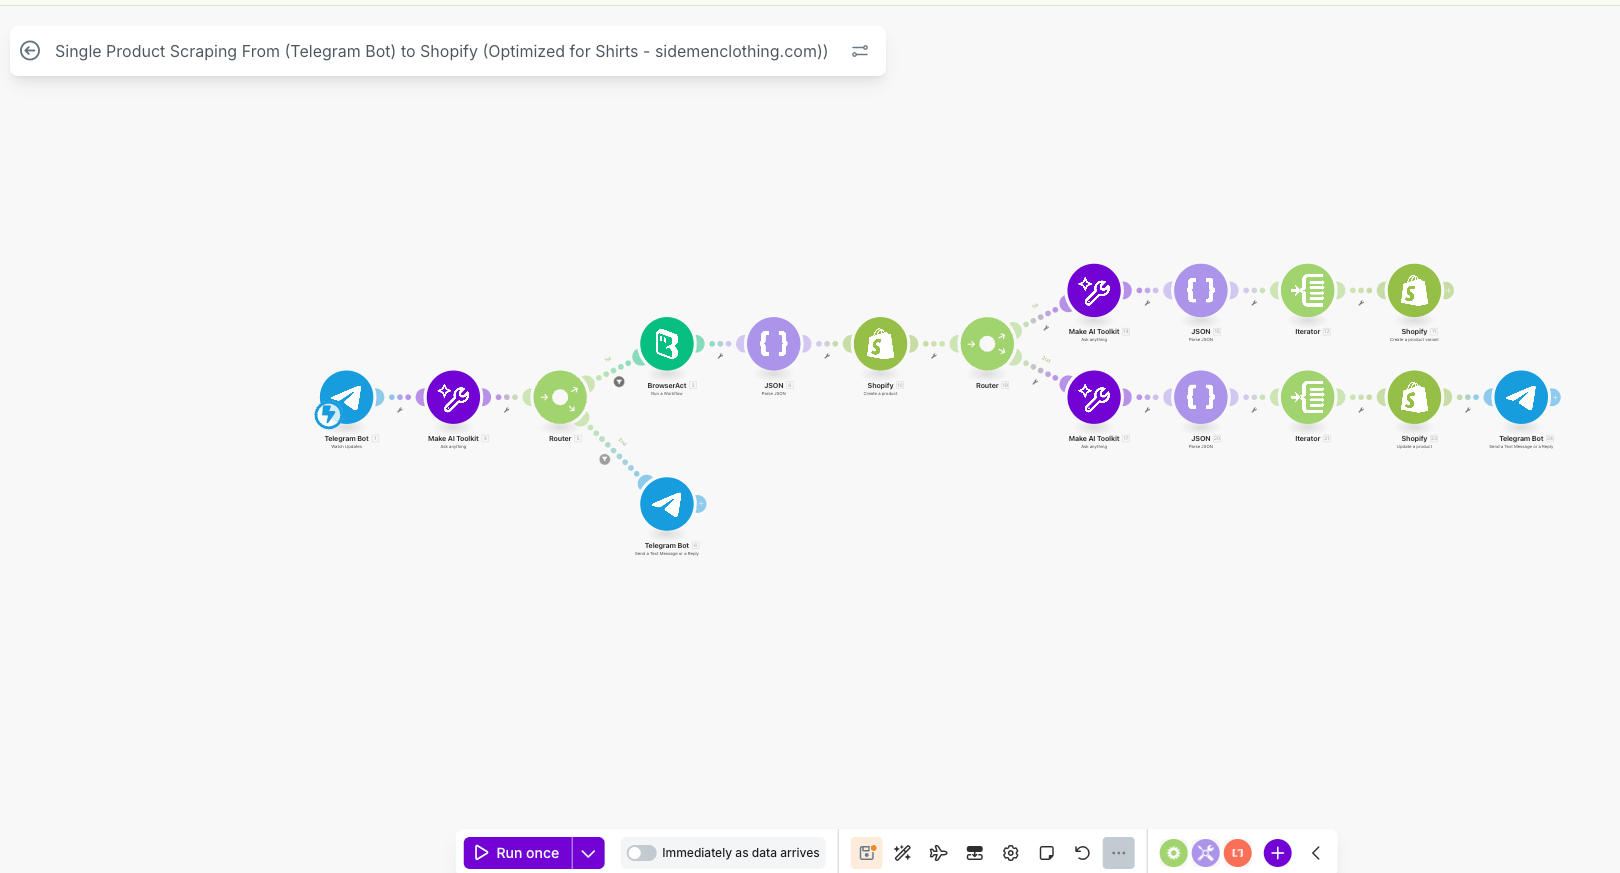
- Review the imported modules, routes, filters, and mapped inputs.
- Reconnect the BrowserAct module and any other applications used in the scenario.
- Select the Workflow that corresponds to your BrowserAct Bot and verify its inputs.
- Run the scenario once before activating it.
Export a Make Blueprint
- Open the Make scenario.
- Open the scenario menu and select
Export Blueprint.
- Save the JSON file.
Share the Blueprint
After exporting the JSON file, you can share it with teammates, clients, or the Make community. Recipients can import the file by following the import steps above. Before sharing a blueprint, review it for fixed values, test data, or other sensitive information. API keys and application credentials should never be added directly to the JSON file.Tips
- Review imported scenarios before activating them.
- Reconnect BrowserAct, API keys, and third-party app accounts after import.
- Check required input fields before running the scenario.
- Use clear file names when saving blueprint files.
- Add notes inside Make if the scenario will be shared with another user.
A Make blueprint is a Make scenario file, not a BrowserAct Bot export.